Checkmk notifications via Opsgenie
Configuring Opsgenie
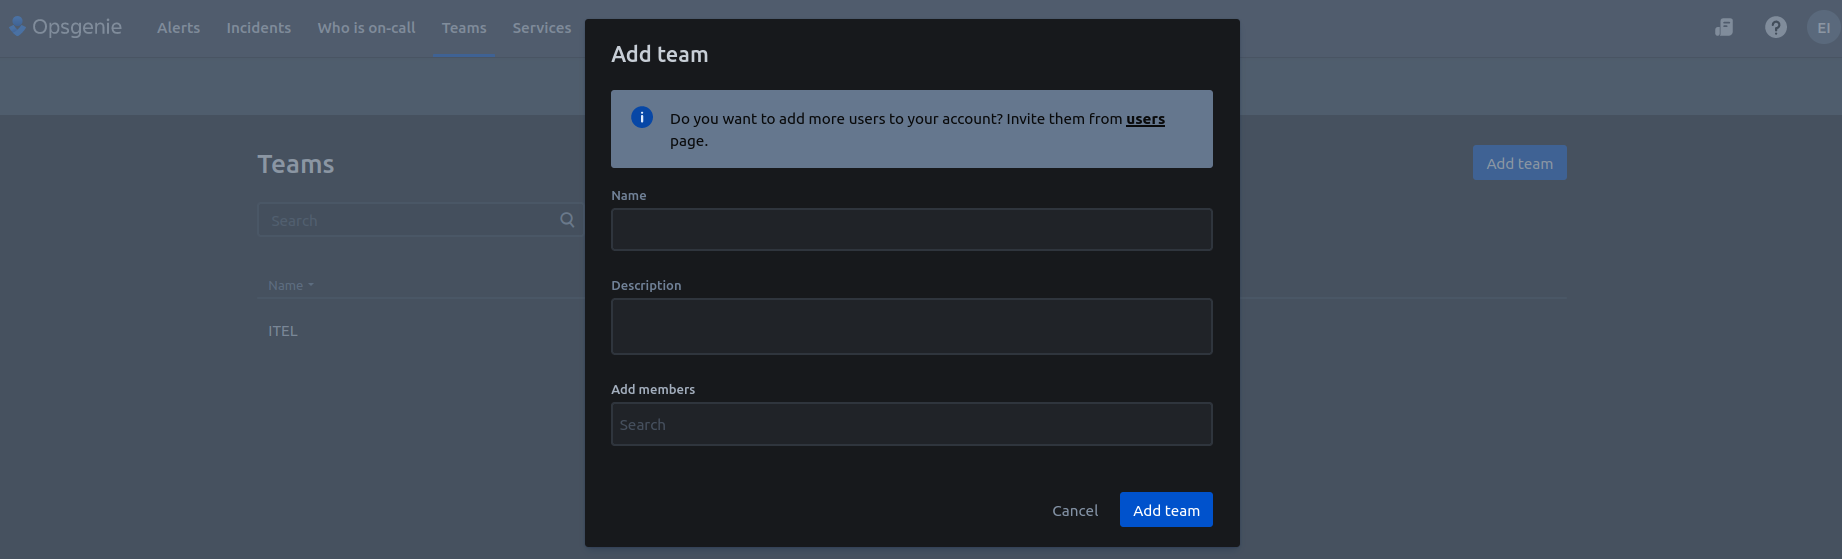
Add team
Create a team
Add Integration
Select a team > Choose the entry Checkmk under Integrations/Add Integration.
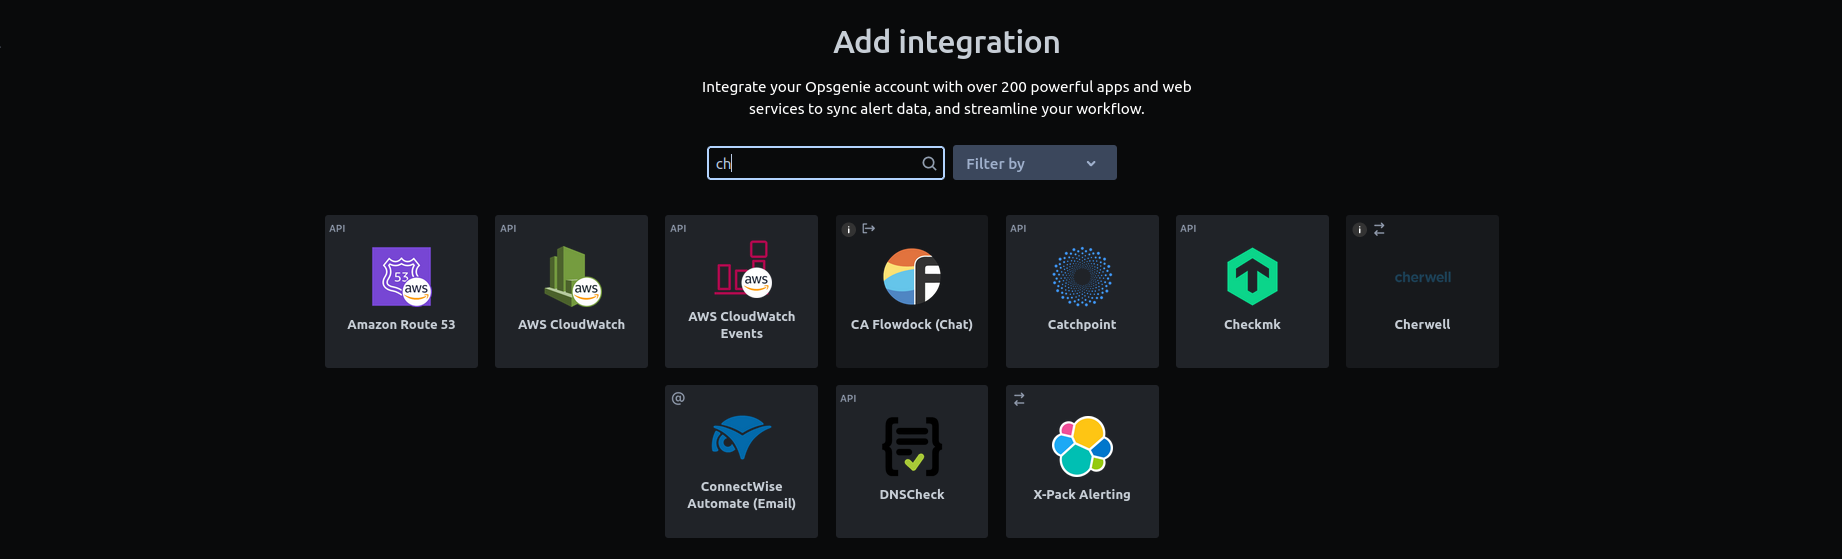
Copy the API key and save the integration
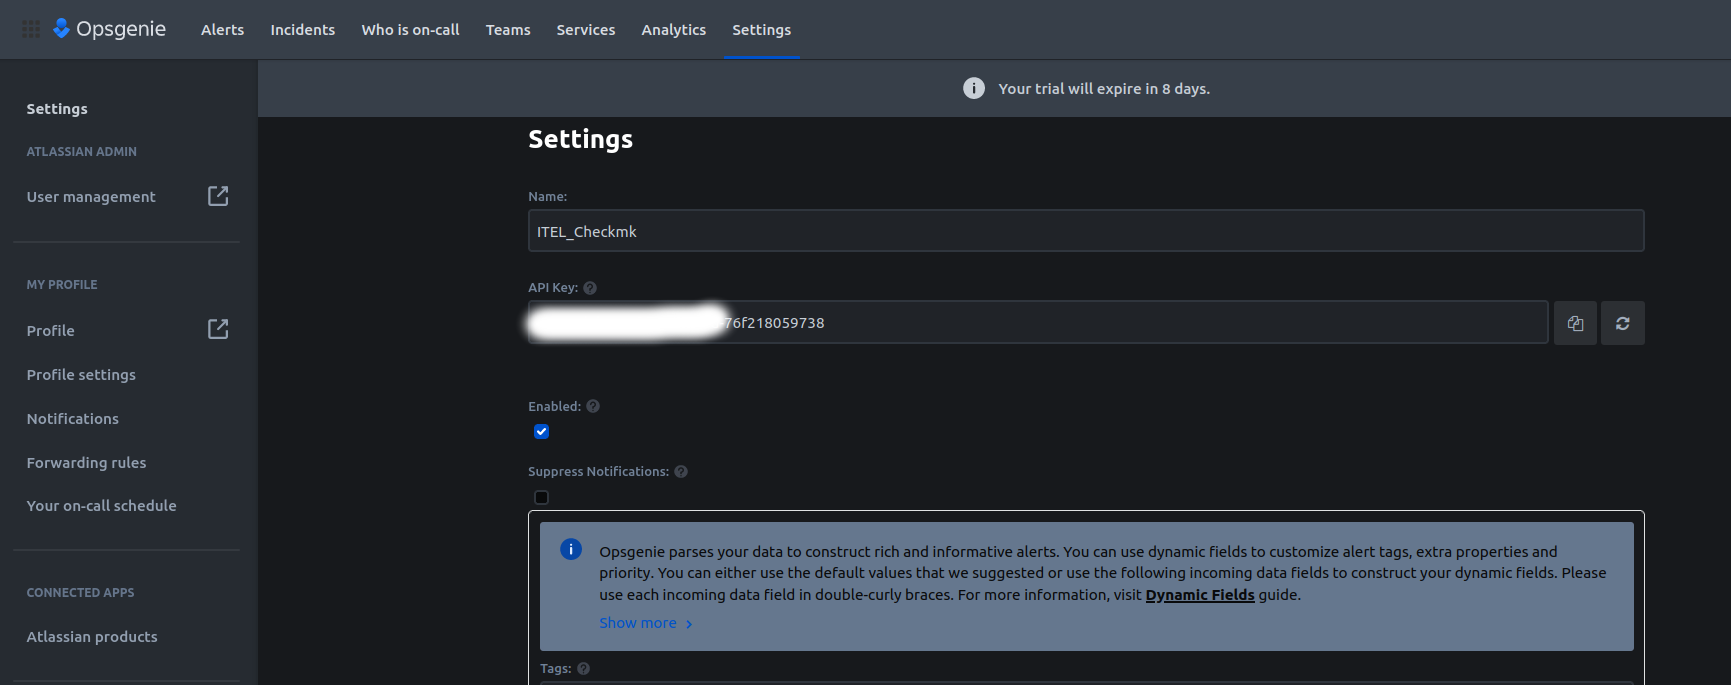
Configuring Checkmk
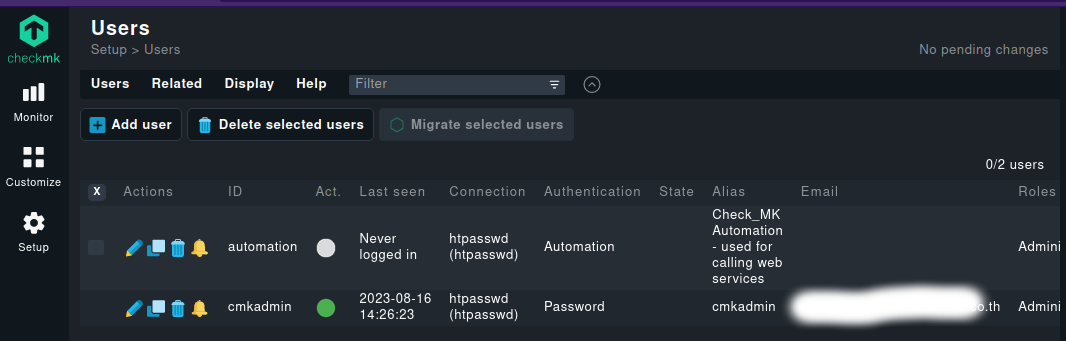
Add User
- In Checkmk Setup > User, Click on
Add User
- Enter a
Usernameand aFull namefor this new user.
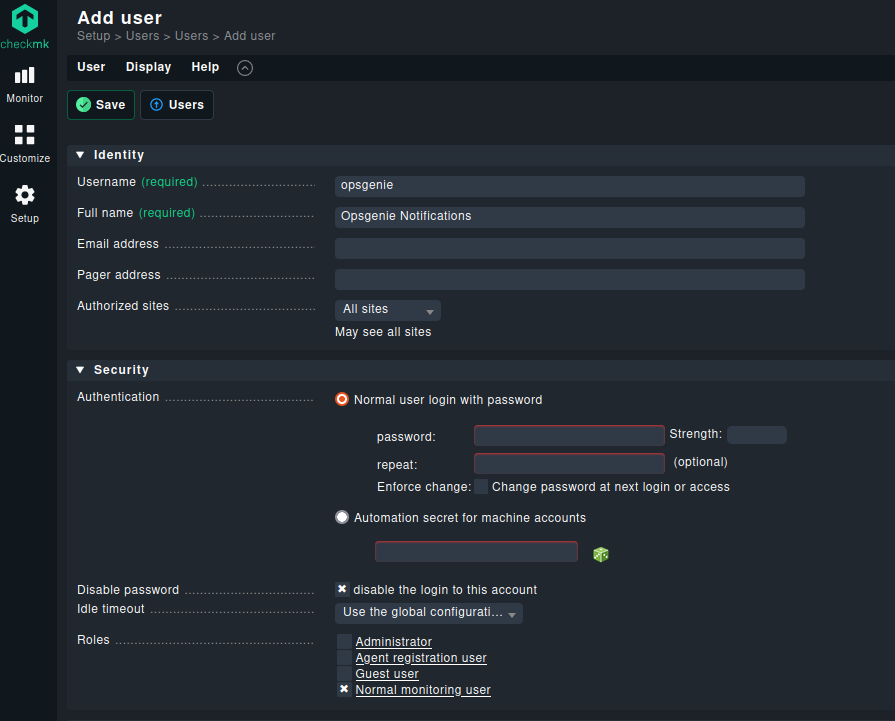
- Leave blank Authentication part
- Check disable the login to this account to value.
- Select Normal monitoring user for the Roles.
- Click on Save button.
Creating New Rule Notification
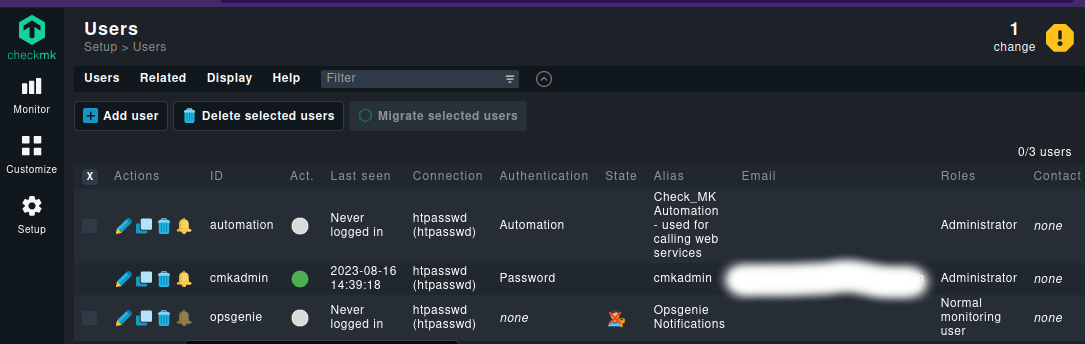
After creating the new user, you will be redirected to Users page, again.
- Click on the notification button (yellow bell icon) under Actions column for the newly created (opsgenie) user.
- Click on Add Rule on the top.

- Enter Opsgenie as the Description.
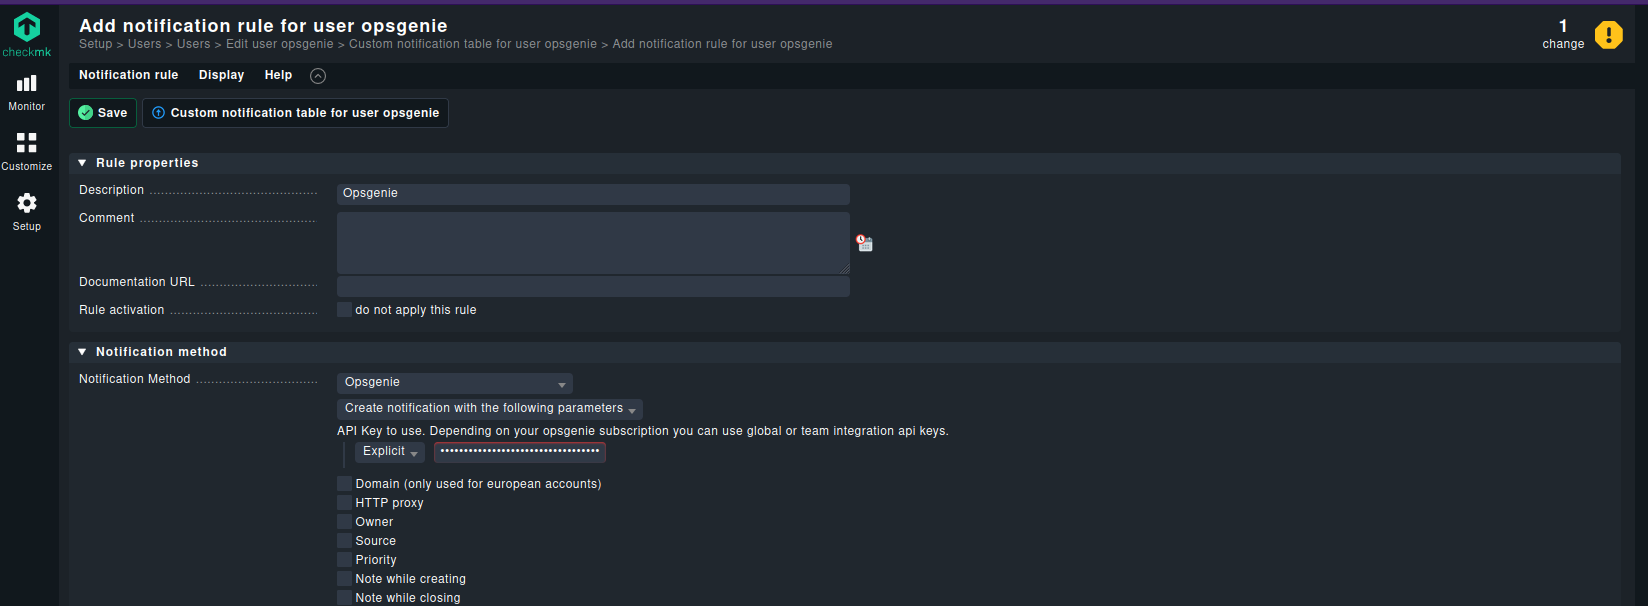
- Select Opsgenie as the Notification Method.
- Enter API Key: from opsgenie in API Key to use.
- Click on Save button.
Activate Changes
After saving, click on Main Menu on the left under WATO Configuration box. You will notice an yellow button labeled # Changes on the top.
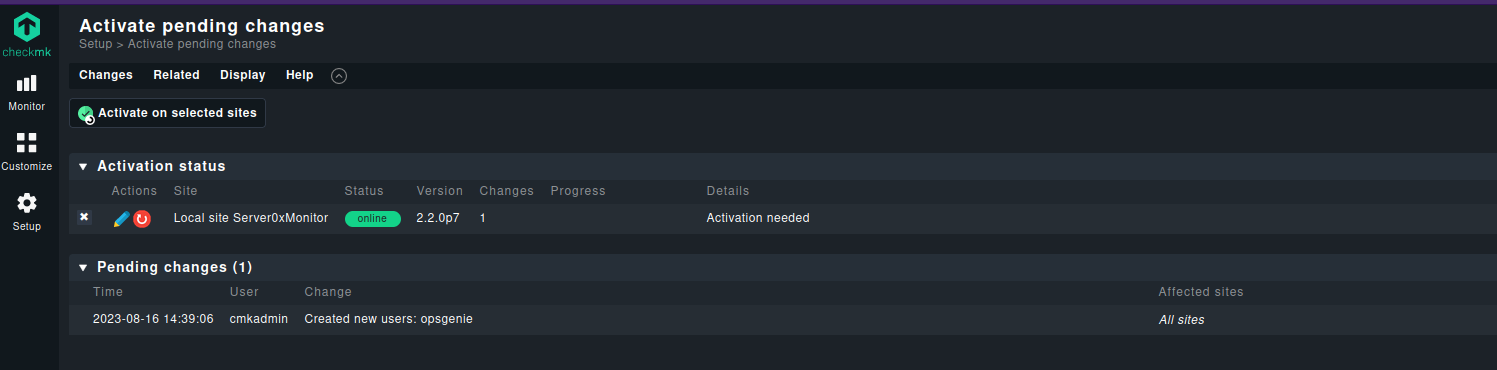
- Click on that button and
- click on Activate on selected sites
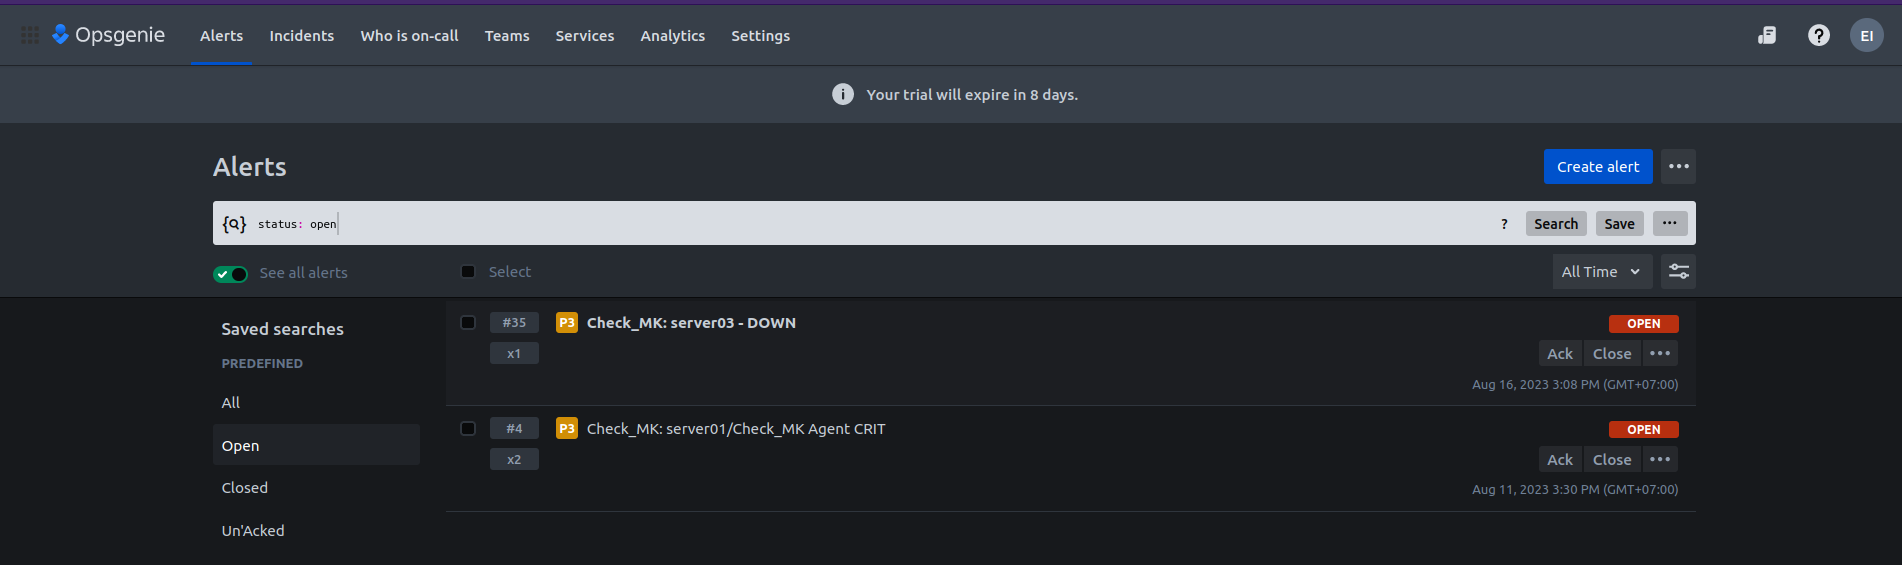
Test Notifications
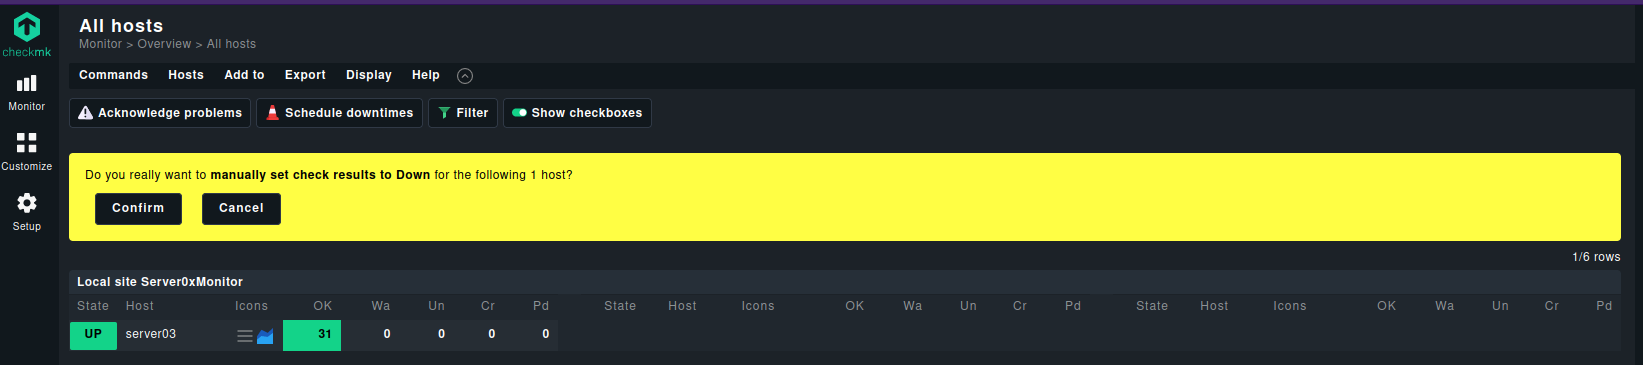
Monitor > All hosts : select checkboxs on a Host.
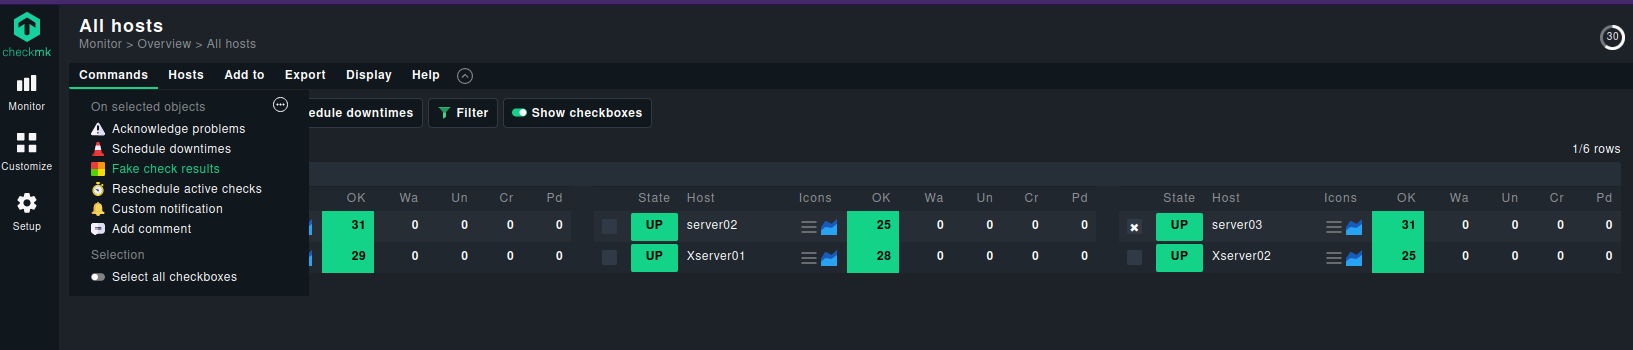
In this case is the server03
Fake check results
- Select Commands > Fake check results
- Select Down button
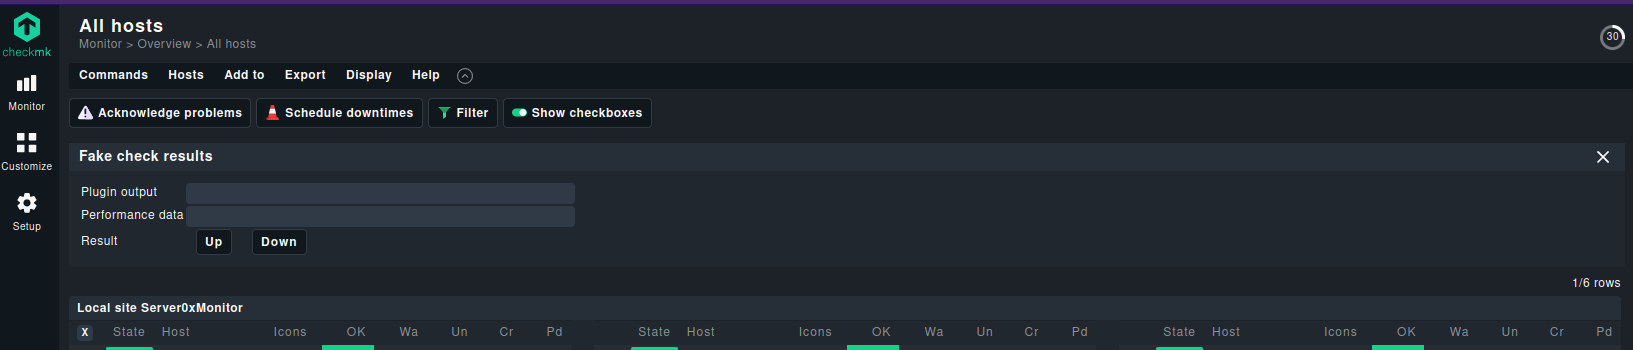
Confirm
Manually set check results to Down
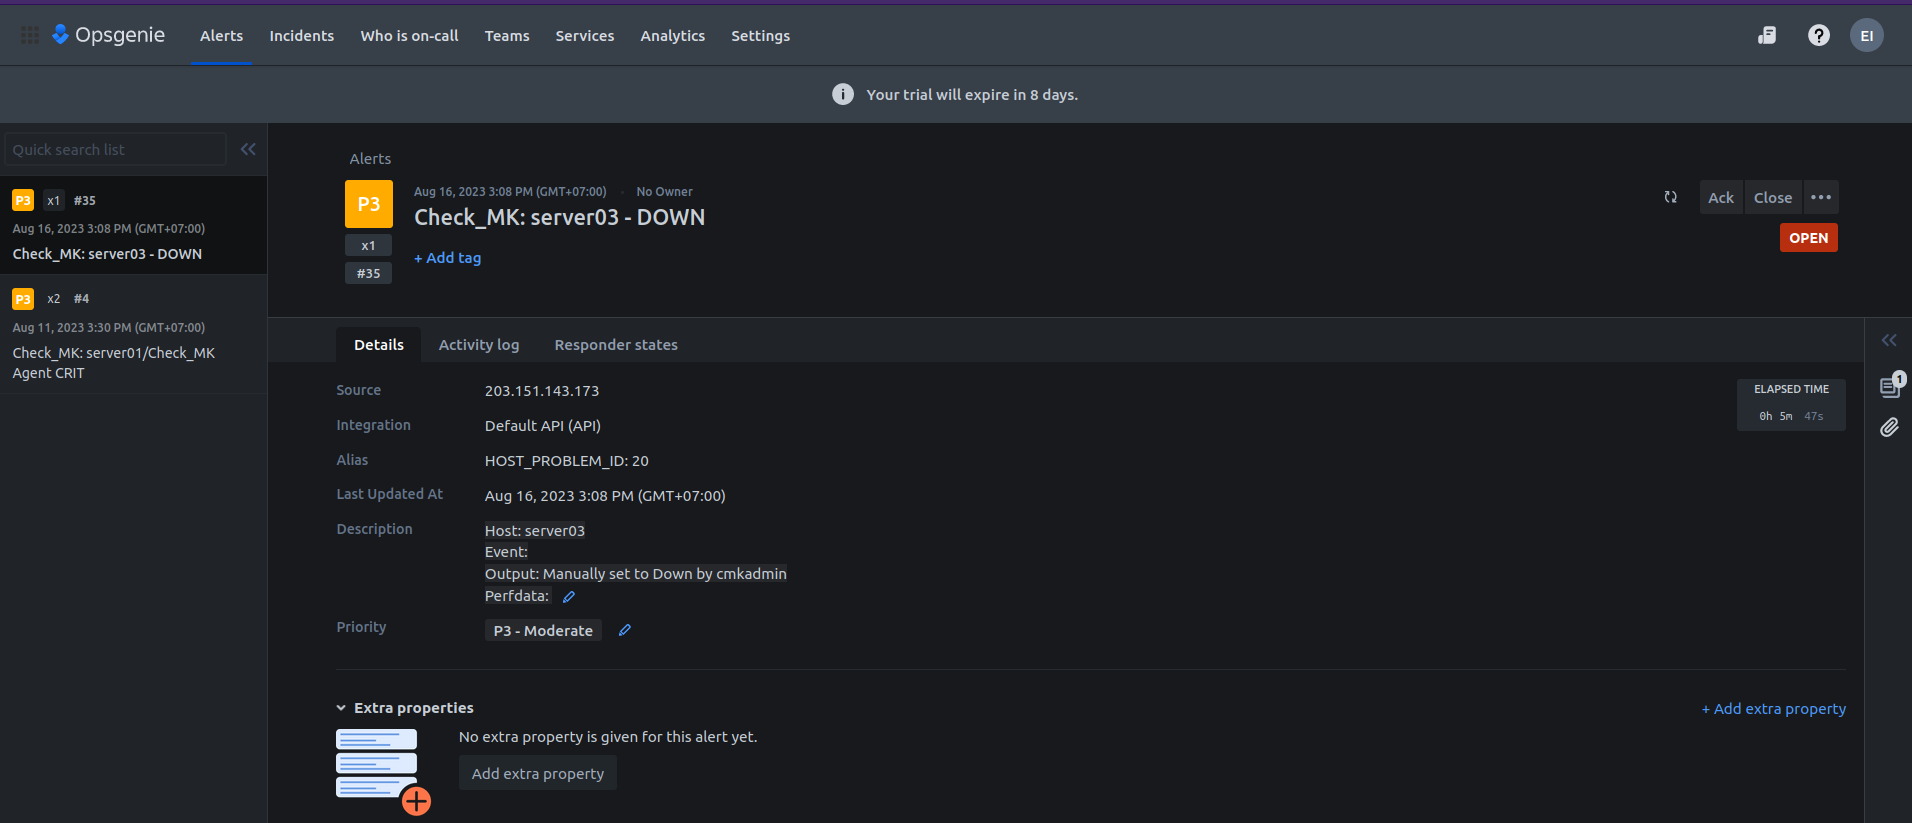
Check Opsgenie