GeoDjango Installation with Virtualenv on Ubuntu
Details for each of the requirements and installation instructions are provided in GeoDjango Installation
Python and Django
- Install pip.
$ apt install python-pip $ pip3 -V pip 9.0.1 from /usr/lib/python3/dist-packages (python 3.6) - Install Virtualenv
$ [sudo] pip3 install virtualenvVirtualenvis a tool to create isolated Python environments. - Create a new environment
$ virtualenv /opt/django
Using base prefix '/usr'
New python executable in /opt/django/bin/python3
Also creating executable in /opt/django/bin/python
Installing setuptools, pip, wheel...done.
Where
/opt/djangois a directory to place the new virtual environment. - Activate script
$ cd /opt/django/
$ source bin/activate
(django)$
The
activatescript will also modify your shell prompt to indicate which environment is currently active. - Install GeoDjango
Geodjango is included in the Django installation
(django)$ pip install Django
Collecting Django
....
Installing collected packages: pytz, Django
Successfully installed Django-2.0.6 pytz-2018.4
(django)$ django-admin --version
2.0.6
(django)$
Installing Geospatial Libraries
On Debian/Ubuntu, you are advised to install the following packages which will install, directly or by dependency, the required geospatial libraries:
$ [sudo] apt-get install binutils libproj-dev gdal-bin
GEOS API
GEOS stands for Geometry Engine - Open Source, and is a C++ library, ported from the Java Topology Suite.
$ [sudo] apt-get install libgeos++
PROJ.4
PROJ is a generic coordinate transformation software, that transforms geospatial coordinates from one coordinate reference system (CRS) to another. On Ubuntu the APT package manager is used:
$ [sudo] apt-get install proj-bin
GDAL API
GDAL stands for Geospatial Data Abstraction Library, and is a veritable “Swiss army knife” of GIS data functionality.
$ [sudo] apt install gdal-bin
Reading package lists... Done
Building dependency tree
...
Unpacking gdal-bin (2.2.3+dfsg-2) ...
Processing triggers for man-db (2.8.3-2) ...
Setting up gdal-bin (2.2.3+dfsg-2) ...
Create a New Project
Use the django-admin script to create a project called kapany:
(django)$ django-admin startproject kapany
(django)$ tree
.
├── kapany
│   ├── __init__.py
│   ├── settings.py
│   ├── urls.py
│   └── wsgi.py
└── manage.py

1 directory, 5 files
This will create a directory called kapany within your current directory.
Install pyscopg2
Install python bindings for postgres
(django)$ pip install psycopg2
Configure settings.py
The kapany project settings are stored in the kapany/settings.py file.
- Database Connection Settings
# Database
# https://docs.djangoproject.com/en/2.0/ref/settings/#databases

DATABASES = {
    'default': {
        'ENGINE': 'django.contrib.gis.db.backends.postgis',
        'NAME': 'mydatabase',
        'USER': 'mydatabaseuser',
        'PASSWORD': 'mypassword',
        'HOST': '127.0.0.1',
        'PORT': '5432',
    }
}
- Modify the
INSTALLED_APPSSetting to includedjango.contrib.gis
# Application definition

INSTALLED_APPS = [
    'django.contrib.admin',
...
    'django.contrib.staticfiles',
    'django.contrib.gis', # GeoDjango
]
Migrate
(django)$ python manage.py migrate
Operations to perform:
  Apply all migrations: admin, auth, contenttypes, sessions
Running migrations:
  Applying contenttypes.0001_initial... OK
  Applying auth.0001_initial... OK
  Applying admin.0001_initial... OK
  Applying admin.0002_logentry_remove_auto_add... OK
  Applying contenttypes.0002_remove_content_type_name... OK
...
  Applying sessions.0001_initial... OK
(django)$
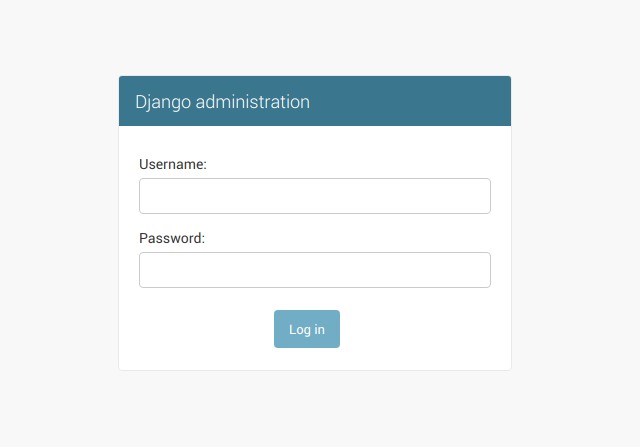
Create Superuser
(django)$ python manage.py createsuperuser
Username (leave blank to use 'root'):
Email address: your_email_address
Password:
Password (again):
Superuser created successfully.
(django)$
ALLOWED_HOSTS
setting ALLOWED_HOSTS in settings.py by append :
For further reading [read from here].
ALLOWED_HOSTS = ['your_ip_address', 'localhost', '127.0.0.1']
Run Server
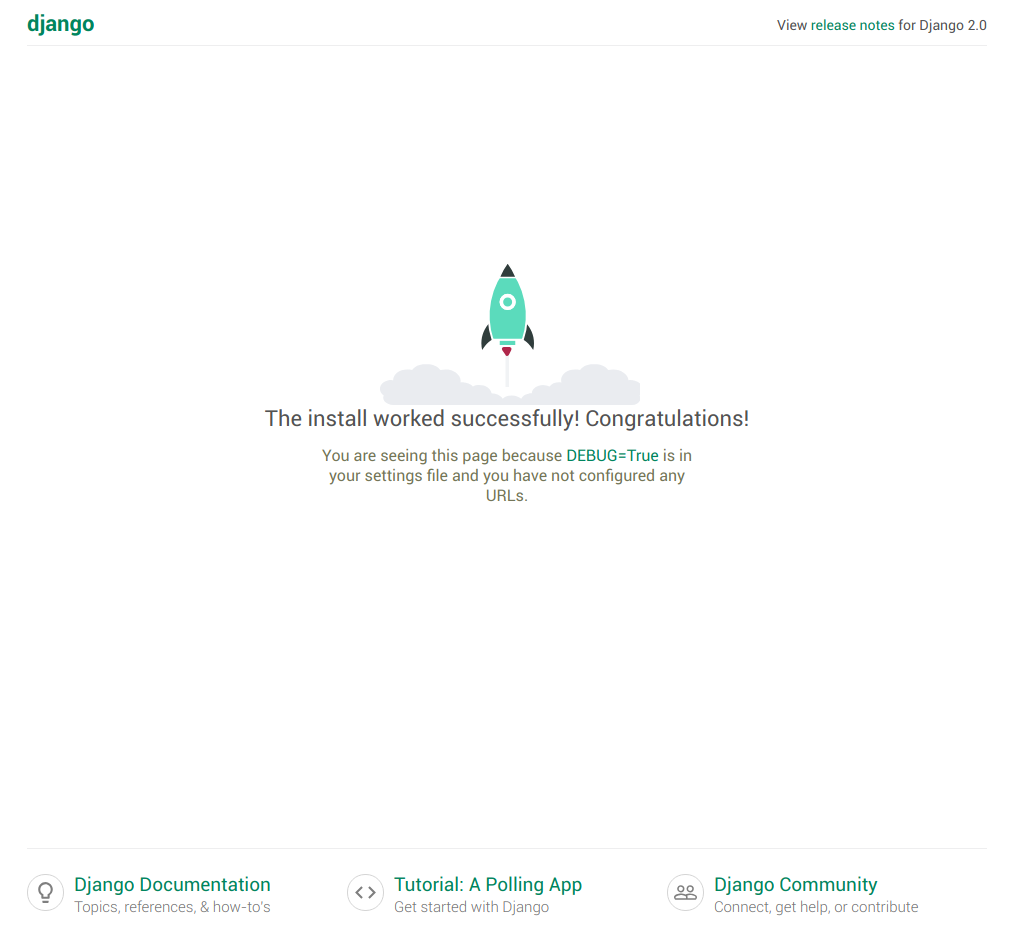
(django)$ python manage.py runserver 0.0.0.0:8000
Performing system checks...

System check identified no issues (0 silenced).
June 12, 2018 - 09:51:16
Django version 2.0.6, using settings 'kapany.settings'
Starting development server at http://0.0.0.0:8000/
Quit the server with CONTROL-C.

